101日目:Dashboard作成とCreateProfile Componentの作成
Dashboard(ユーザーがログインした時に表示される画面)と、新たにプロフィールに追加する内容を記入できるCreateProfile Componentを作成しました。このブログ記事ではダッシュボード作成部分についてまとめました。
①client/src/components/layout/Navbar.jsにコードを書き加えて/dashboardへのリンクを作成した
まずは、Navbar.jsに/dashboardへのリンクのコードを書き加えました。一部抜粋ですがこの部分です。
const Navbar = ({ auth: { isAuthenticated, loading }, logout }) => {
  const authLinks = (
    <ul>
      <li>
        <Link to='/dashboard'>
          <i className='fas fa-user' />
          {""}
          <span ClassName='hide-sm'>Dashboard</span>
        </Link>
      </li>
      <li>
        <a onClick={logout} href='#!'>
          <i className='fas fa-sign-out-alt' />
②client/src/components/layout/Landing.jsに、ユーザーがauthenticatedされたら/dashboardにリダイレクトするようコードを書き加えた
ログインした時にユーザーが既に登録済みであればisAuthenticatedとして、/dashboardにリダイレクトされるようコードを書き加えました。
import React from "react";
import { Link, Redirect } from "react-router-dom";
import { connect } from "react-redux";
import PropTypes from "prop-types";

const Landing = ({ isAuthenticated }) => {
  if (isAuthenticated) {
    return <Redirect to='/dashboard' />;
  }

  return (
    <section className='landing'>
      <div className='dark-overlay'>
        <div className='landing-inner'>
          <h1 className='x-large'>Developer Connector</h1>
          <p className='lead'>
            Create a developer profile/portfolio, share posts and get help from
            other developers
          </p>
          <div className='buttons'>
            <Link to='/register' className='btn btn-primary'>
              Sign Up
            </Link>
            <Link to='/login' className='btn btn-light'>
              Login
            </Link>
          </div>
        </div>
      </div>
    </section>
  );
};

Landing.propTypes = {
  isAuthenticated: PropTypes.bool
};

const mapStateToProps = state => ({
  isAuthenticated: state.auth.isAuthenticated
});

export default connect(mapStateToProps)(Landing);
②スピナーを作成するためにclient/src/components/layout/にSpinner.jsを作成し、spinner.gifもlayoutに入れる
これは単にプロファイルがloadされる間(nullではない)、スピナーをクルクル回しておくというファイルです。
import React, { Fragment } from "react";
import spinner from "./spinner.gif";

export default () => (
  <Fragment>
    <img
      src={spinner}
      style={{ width: "20px", margin: "auto", display: "block" }}
      alt='Loading...'
    />
  </Fragment>
);
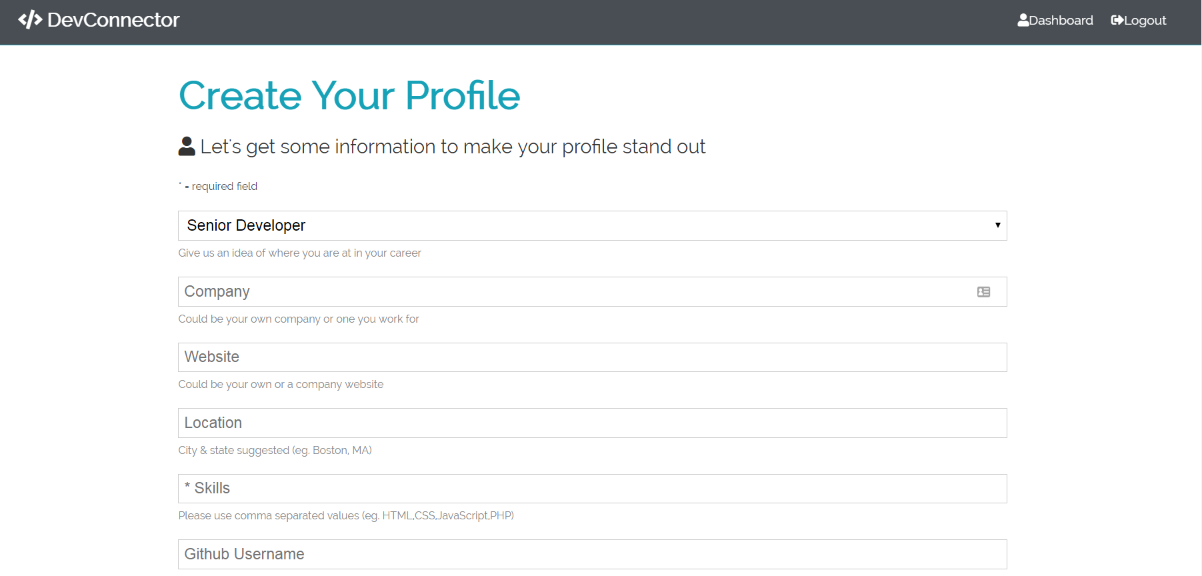
③ダッシュボードページの作成 client/src/components/dashboard/Dashboard.js
先日形だけ作成していたDashboard.jsを形にしました。ユーザーがログインした時に表示される画面です。プロフィールを詳しく記入していないユーザーのいる場合には、/create-profileの欄を開けるようにしています。
import React, { Fragment, useEffect } from "react";
import { Link } from "react-router-dom";
import PropTypes from "prop-types";
import { connect } from "react-redux";
import Spinner from "../layout/Spinner";
import { getCurrentProfile } from "../../actions/profile";

const Dashboard = ({
  getCurrentProfile,
  auth: { user },
  profile: { profile, loading }
}) => {
  // eslint-disable-next-line
  useEffect(() => {
    getCurrentProfile();
  }, []);

  return loading && profile === null ? (
    <Spinner />
  ) : (
    <Fragment>
      <h1 className='large text-primary'>Dashboard</h1>
      <p className='lead'>
        <i className='fas fa-user' /> Welcome {user && user.name}
      </p>
      {profile !== null ? (
        <Fragment>has</Fragment>
      ) : (
        <Fragment>
          <p>You have not yet setup a profile, please add some info</p>
          <Link to='/create-profile' className='btn btn-primary my-1'>
            Create Profile
          </Link>
        </Fragment>
      )}
    </Fragment>
  );
};

Dashboard.propTypes = {
  getCurrentProfile: PropTypes.func.isRequired,
  auth: PropTypes.object.isRequired,
  profile: PropTypes.object.isRequired
};

const mapStateToProps = state => ({
  auth: state.auth,
  profile: state.profile
});

export default connect(
  mapStateToProps,
  { getCurrentProfile }
)(Dashboard);
ダッシュボードもだいぶ形が出来上がってきた印象で、嬉しいです!
ここで、前に使ったユーザーの情報が消えないというエラーが発生したので、CLEAR_PROFILEというものを作成して、エラー回避しています。
エラー回避①client/src/actions/types.js
export const CLEAR_PROFILE = "CLEAR_PROFILE";
エラー回避②client/src/actions/auth.js の最初のimport部分にも書き足し
import {
  REGISTER_SUCCESS,
  REGISTER_FAIL,
  USER_LOADED,
  AUTH_ERROR,
  LOGIN_SUCCESS,
  LOGIN_FAIL,
  LOGOUT,
  CLEAR_PROFILE
} from "./types";
エラー回避③client/src/reducers/profile.jsの最初のimport部分とswitchのcase部分にCLEAR_PROFILEを書き足しています。
import { GET_PROFILE, PROFILE_ERROR, CLEAR_PROFILE } from "../actions/types";

const initialState = {
  profile: null,
  profiles: [], //profile listing page
  repos: [],
  loading: true,
  error: {}
};

export default function(state = initialState, action) {
  const { type, payload } = action;

  switch (type) {
    case GET_PROFILE:
      return {
        ...state,
        profile: payload,
        loading: false
      };
    case PROFILE_ERROR:
      return {
        ...state,
        error: payload,
        loading: false
      };
    case CLEAR_PROFILE:
      return {
        ...state,
        profile: null,
        repos: [],
        loading: false
      };
    default:
      return state;
  }
}
ここまでの感想
ダッシュボードがようやく形になってきて、ただログイン・ログアウトするだけではなく、ユーザーがさらに詳しい情報を入力できるように形になってきたので、目に見える成果があって良かったです。次記事のCreateProfileComponentのレクチャーまで本日は学習しました(というわけで、続きます。)
現在使用している教材と学習時間:本日の学習時間2.5時間
Udemy:MERN Stack Front To Back: Full Stack React, Redux & Node.js by Brad Traversy
★Section9:Dashboard & Profile Management
-Lec 46 Starting On The Dashboard(このブログ記事に書いた内容。)
-Lec 45 CreateProfileComponent (ここまで完了。)
進捗状況:65%
学習時間2.5時間
~本日は休みにしている教材~
Udemy:The Complete Web Developer: Zero to Mastery by Andrei Neagoie
進捗状況: 92%
★参考にした本★
「React.js & Next.js超入門」掌田津耶乃 (秀和システム)
Section4-1: Reduxを使ってみよう
★参照記事★
Quiita参照記事⇒[axios] axios の導入と簡単な使い方